A very generous person donated these laptops to me for a very good cause. The good cause was and is to build a Digital Picture Frame henceforth will be referred to as
DPF. Many will say why not just buy one, it only cost $50. Well yes i could but where's the pride in saying I bought one. Couple of my co-workers bought one and it just sits there and no one notices it until some amazing picture pops up on the display and they say, "ooh what a picture", "where was this?" But this time they will stop and say what a frame, where can i buy one?
The Following laptops were donated:
4x IBM Laptops 390x
1x IBM think pad A31
1x Some crappy old dell---don't know if it still works. Still sitting at work.
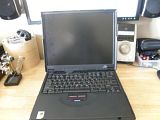
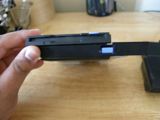
Pictures of the laptop: 390X

As a gift of his generosity I will build him one as well. The following work-log is for my future references and yes, I am not the first one to do this. This applies to only those thinking, wow this has been done before and its lame. every one has there own point of view and does things differently.
so here we go! :)
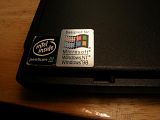
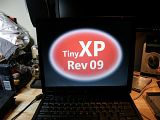
Day 1-April 9Received the generous donation of the laptops and brought some of the laptops home. It was a pain to carry them home. I had to stuff all three of them in my bag and they weighed a ton. The one's I'll be using for the digital picture frame are the Think pads 390x. I chose the 390x for a couple of reasons. They are Pentium 3's, don't generate much heat, Small form factor due to the fact that its large size is caused by the humongous battery and the CD-ROM/Floppy combo(really no joke), screen size 14", and the power switch can be modified to use a button. Its running TinyXp Rev 9. Check out the pictures to see what i mean.
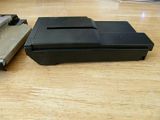
The Floppy/CD-ROM Combo:
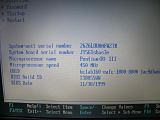
TinyXP:
Finally after playing around with them and checking to see what can be done with them, i came to the conclusion that I can strip them apart and build a digital wireless bluetooth enabled picture frame which i can use for a couple of things. My brainstorming session came up with the following:
1. Slide Shows of my baby niece who turns one year old, May 31st.
2. Wall mounted gaming console consisting of NES, SNES, and SEGA emulators.
3. Just amaze the hell out of my co-workers.
4. My mother always wanted one.
5. Just for fun.
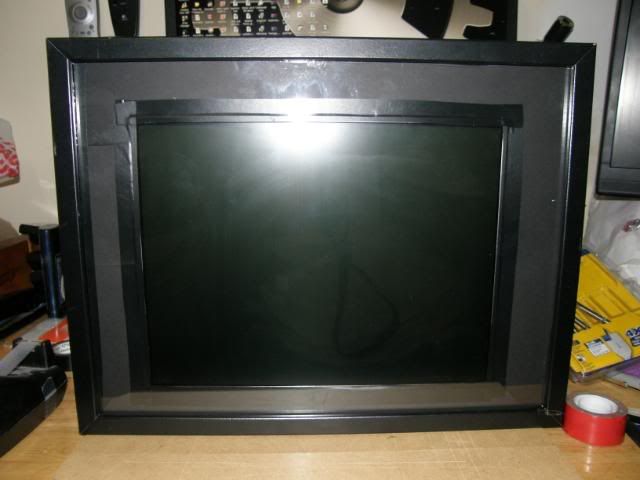
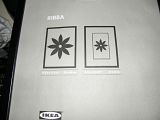
Now that we got that out of the way moving onto the parts needed. I spent almost 2 hours measuring the laptop, searching for parts, and layout and design. I needed a frame that wasn't to big but was the right size and about two inches deep to mount the internals of the laptop. So i immediately turned to Ikea to see what they had and came up with the frame called "RIBBA." The website showed the size i wanted was for $30. Thinking I'll buy one now and the next week buy another one.
Pictures of the frame "RIBBA":
 Day 2--April 10-shopping for parts- Brick and Mortar
First Stop: Ikea in Redhook.
Went straight to the ding and dent depot in Ikea. That's where they keep all the floor samples and customer returns for a dirt cheap price. Only catch is that all sales are final. To my surprise i found three Ribba's for $5 a piece. They were Ikea's floor sample in like new conditions. Also bought Felt pads known as PRAKTISK.
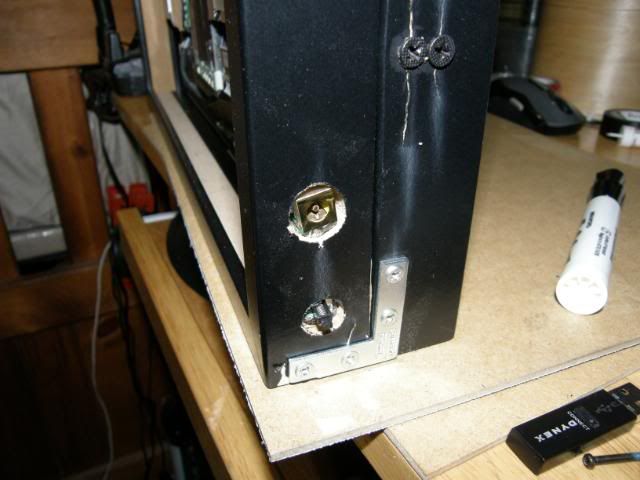
Next stop: Lowe's--Redhook
Bought L brackets and wood boring bits. Only need 1/2 inch but didn't have single ones so i bought the 5 pack for $5 on clearance. Yes I'm the bargain master. :)
Next and final Stop: HomeDepot--also located in Redhook. I saved so much gas just by these stores being so close.
bought:
Plastic Dip
Sheet of 11 x 14 lexan
5 -minute clear Epoxy
combination square--to get perfect 90 degree squares
All stuff bought came out to under $35. I feel proud. Day 3 will be measuring and cutting and also explaining the uses of all the tools and parts bought. Till then see ya'
Update:
4/13/09 Added Pics and edited text
To be Continued...